No products in the cart.
Blog
How to Make Ghee at Home from Milk – A Simple Step-by-Step Guide
Ghee is a staple in many kitchens, known for its rich flavor, nutritional value, and versatility. While store-bought options are convenient, learning how to make ghee at home from milk ensures purity, freshness, and a connection to traditional methods. If you’ve ever wondered how to make ghee at home from milk, this guide will walk you through each step.
Why Make Ghee at Home?
Understanding how to make ghee at home from milk has several advantages:
✔ Purity – You control the ingredients, avoiding preservatives and additives.
✔ Superior Taste – Homemade ghee has a nutty aroma and richer flavor than store-bought versions.
✔ Healthier Choice – Fresh ghee retains vital nutrients and is lactose-free, making it a better option for digestion.
Ingredients You’ll Need
To start how to make ghee at home from milk, gather these:
✅ Full-fat milk (organic or raw for best results)
✅ Curd (used to ferment cream into butter)
Step-by-Step Guide on How to Make Ghee at Home from Milk
Step 1: Collecting Cream from Milk
This is the first and most crucial step in how to make ghee at home from milk.
1️⃣ Boil full-fat milk and let it cool to room temperature.
2️⃣ A thick layer of cream (malai) will form on the surface.
3️⃣ Skim off the cream and store it in a container.
4️⃣ Repeat this process daily until you have enough cream to proceed.
Step 2: Making Butter from Cream
Once you’ve collected enough cream, the next step in how to make ghee at home from milk is turning it into butter.
1️⃣ Add a few tablespoons of curd to the stored cream and leave it overnight to ferment.
2️⃣ The next day, churn the fermented cream using a hand churner or blender.
3️⃣ The butter will separate from the liquid (buttermilk).
4️⃣ Collect the butter and save the buttermilk for making curry or baking.
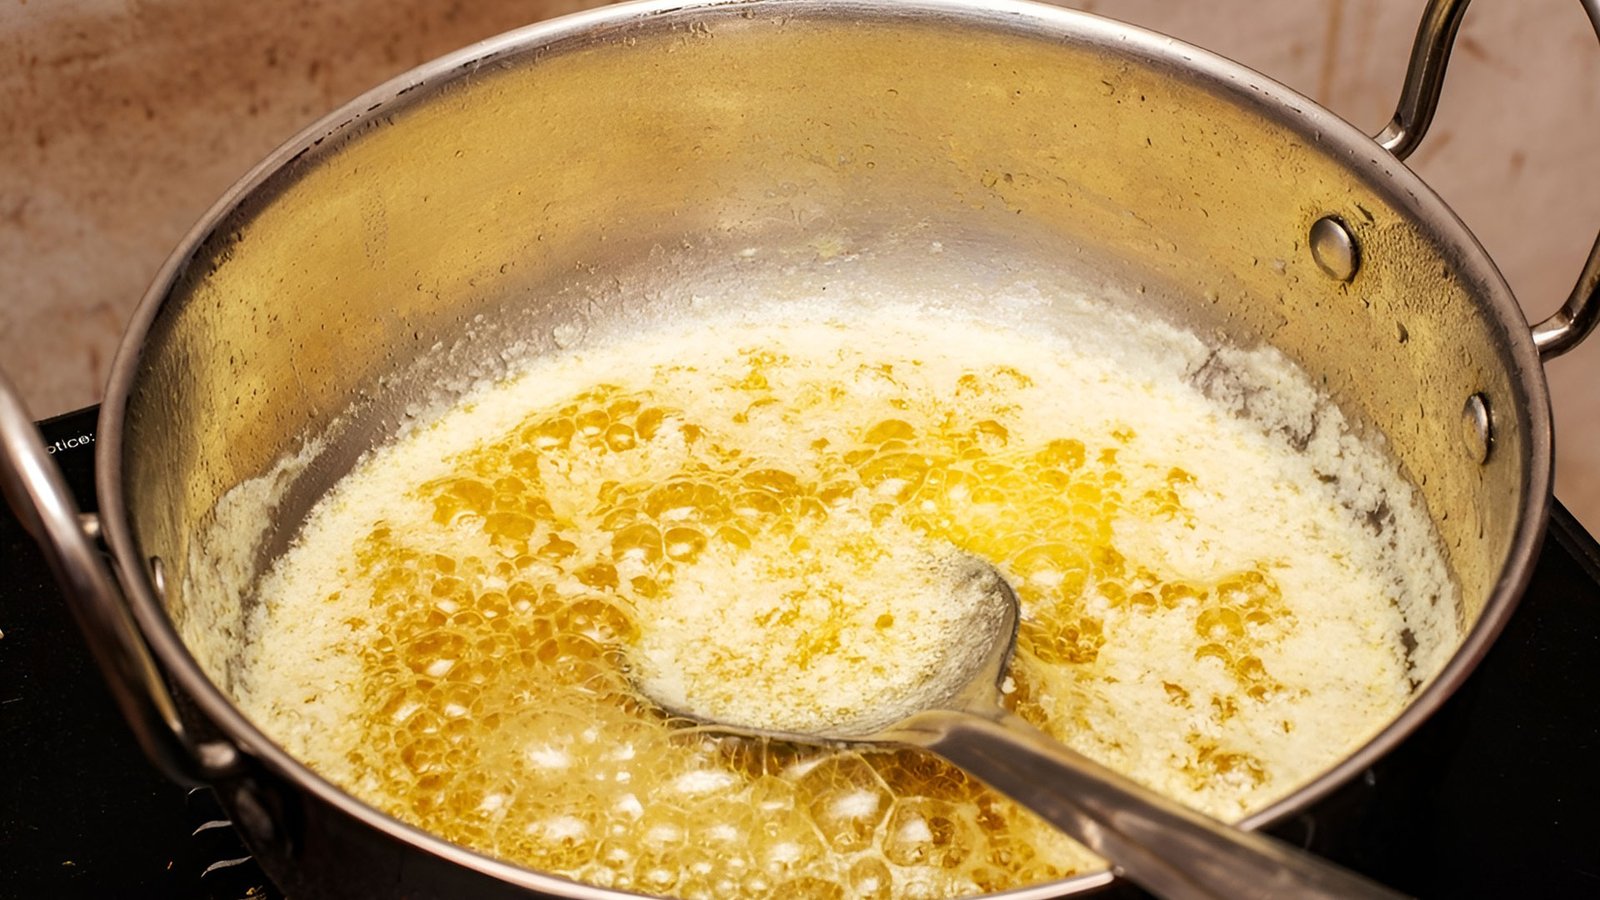
Step 3: Clarifying the Butter into Ghee
Now comes the final transformation in how to make ghee at home from milk—turning butter into ghee.
1️⃣ Place the butter in a heavy-bottomed pan and heat it over low to medium heat.
2️⃣ The butter will start melting, bubbling, and foaming. Stir occasionally.
3️⃣ Eventually, milk solids will settle at the bottom, leaving a golden liquid on top.
4️⃣ When the liquid turns clear golden and smells nutty, your ghee is ready.
5️⃣ Strain the ghee using a fine mesh strainer or cheesecloth to remove solids.
6️⃣ Let it cool before storing it in a dry, airtight jar.
Tips for Perfect Homemade Ghee
✔ Use high-quality full-fat milk for richer ghee.
✔ Cook on low heat to avoid burning and retain the golden hue.
✔ Store in an airtight container to keep it fresh longer.
✔ Reuse milk solids—they can be added to curries or used in desserts.
Benefits of Learning How to Make Ghee at Home from Milk
1️⃣ Rich in Nutrients – Homemade ghee contains vitamins A, D, E, and K, essential for skin, bones, and immunity.
2️⃣ Lactose-Free – Perfect for those with lactose intolerance.
3️⃣ Boosts Digestion – The butyric acid in ghee supports gut health.
4️⃣ Versatile Use – Great for cooking, baking, and skincare.
FAQs on How to Make Ghee at Home from Milk
Final Thoughts on How to Make Ghee at Home from Milk
Now that you know how to make ghee at home from milk, why not give it a try? The process might take some time, but the taste, purity, and health benefits make it well worth the effort. Store-bought ghee can never match the freshness and authenticity of homemade ghee.
So, roll up your sleeves and enjoy the art of making ghee from scratch—your kitchen will be filled with the warm, nutty aroma of pure golden goodness!